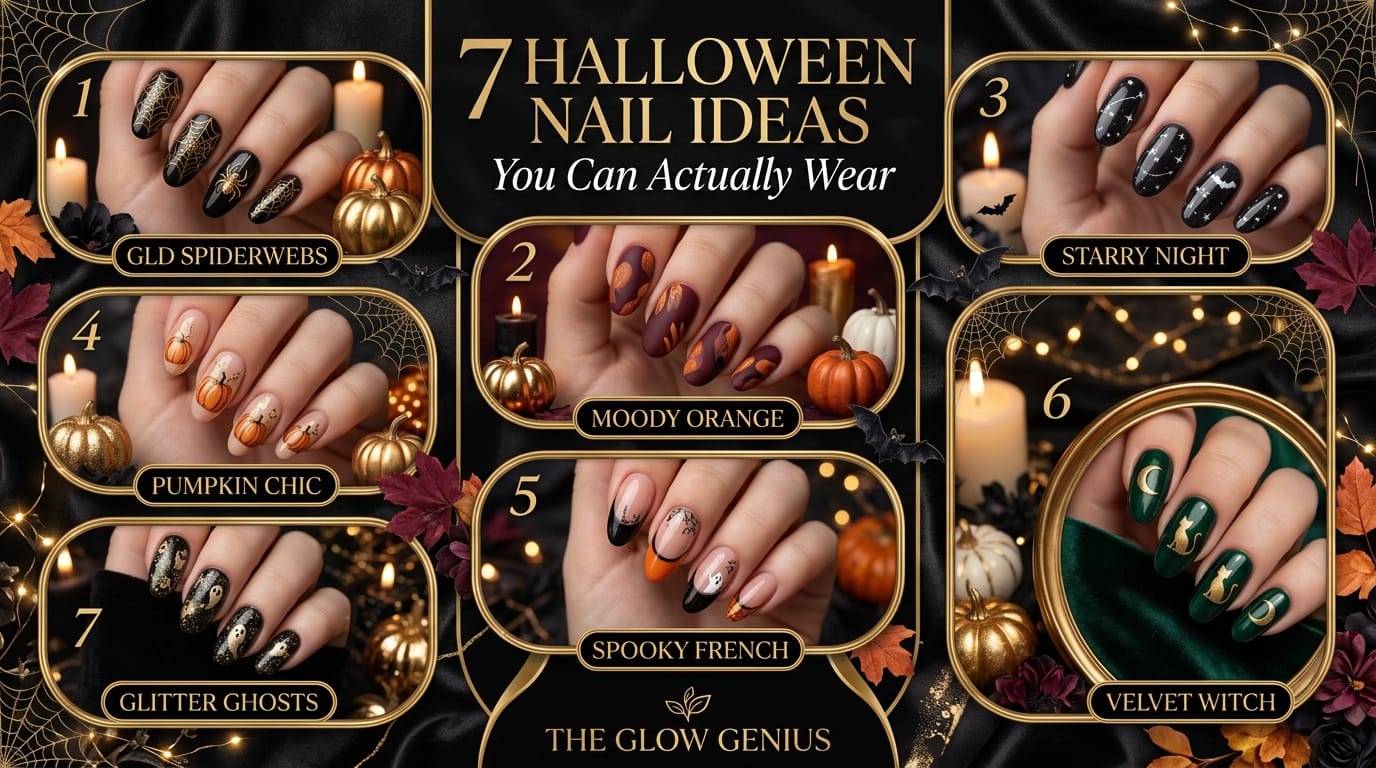
Halloween Nail Ideas: 7 Spooky-Chic Designs You Can Actually Wear
All featured products on The Glow Genius are independently selected by our editors. We may receive support from retailers through purchases made via links on this page.
Halloween nails are one of the easiest ways to join the spooky season without committing to a full costume. A single bold manicure can carry the whole festive mood, whether you keep it subtle or go all out.
Here is the honest truth upfront. The most wearable Halloween nail designs rely on a good base, a steady top coat, and one or two standout details, not an overwhelming number of colors or products. A gel effect polish and a reliable top coat will take you further than a huge collection of one-time-use shades.
This guide breaks down seven Halloween nail ideas, ranked by how easy they are to recreate, along with the exact products that make each one look salon-finished. Here is everything you need to know.
Choosing Your Base: Gel Effect vs Regular Polish
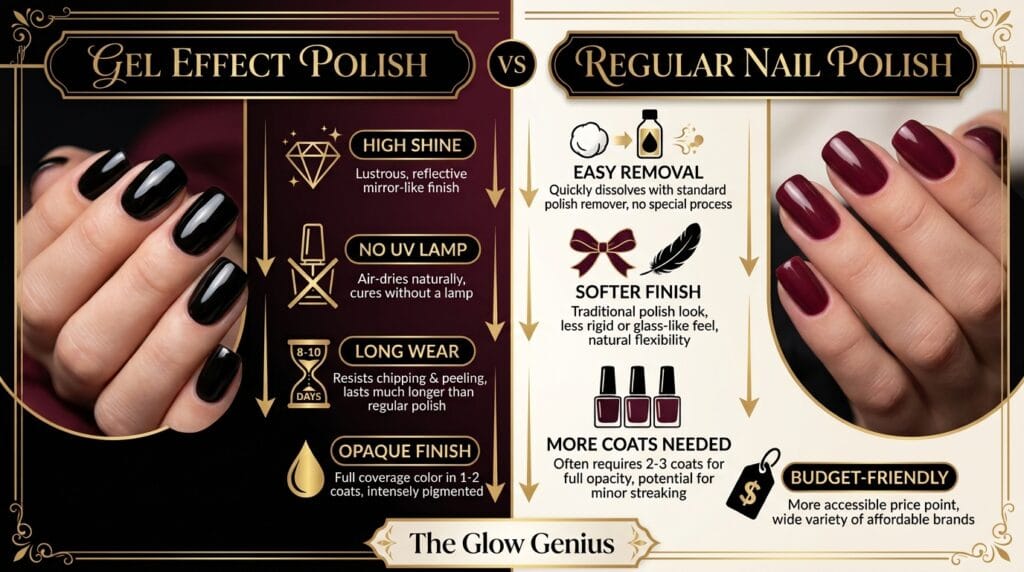
Before picking a design, it helps to understand the difference between gel effect polish and regular nail polish, since your base choice affects how long a Halloween nail design actually lasts.
Gel effect polish, like the Black Taxi Gel Effect Nail Polish from Nails Inc, delivers a high-shine, opaque finish without needing a UV lamp, making it ideal for at-home Halloween looks that still need to hold up through a night out.
Regular nail polish tends to dry with a slightly softer finish and can require more coats for full opacity, especially in dark or bold Halloween shades like black, deep purple, or blood red.
A good base coat, such as the NailPure Base Coat, also protects your natural nails from staining, which matters most with darker Halloween nail shades that can otherwise leave a temporary yellow tint underneath.
Whichever base you choose, finishing with a fast-drying top coat locks in your design and prevents smudging before you even leave the house.
3 Things to Know Before Your Halloween Manicure
Before you start any design, keep these three points in mind.
- First, dark shades like black and deep purple often need two full coats for even, opaque coverage, so plan extra drying time between coats rather than rushing the process.
- Second, nail prep matters more for Halloween looks than everyday polish, since intricate designs like spiderwebs or drip effects show every imperfection on an unprepped nail surface.
- Third, a strong top coat is non-negotiable for Halloween nails, especially for glitter or metallic accents, since these finishes are more prone to catching and lifting without a protective seal.
Always let each layer dry fully before adding detail work, since rushing a Halloween nail design is the most common reason smudges happen right before you head out.

7 Halloween Nail Ideas Ranked by Difficulty
Below are seven Halloween nail ideas, from beginner-friendly to more detailed, with the products that make each one look polished.
1. Classic Black Cat Nails
Difficulty: Beginner
Apply two coats of a true black gel effect polish, like Black Taxi, for a glossy, opaque finish with no UV lamp needed. Finish with a fast-drying top coat to lock in the shine.
This is the simplest Halloween nail design on the list and works as a base for nearly every other look here if you want to add detail later in the week.

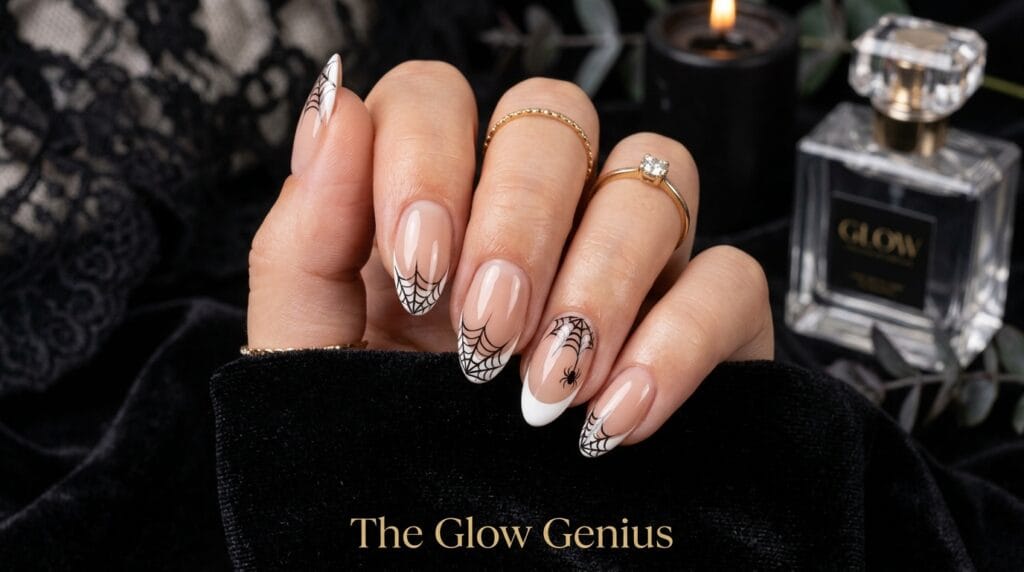
2. Spooky Spiderweb French Tip
Difficulty: Beginner to intermediate
Paint a thin white or silver French tip along the nail edge, then use a fine liner brush and black polish to draw a simple spiderweb pattern over the tip. Seal with a glossy top coat.
This design takes the classic French manicure and gives it a festive twist without covering the entire nail in dark polish, making it office-appropriate for most workplaces.
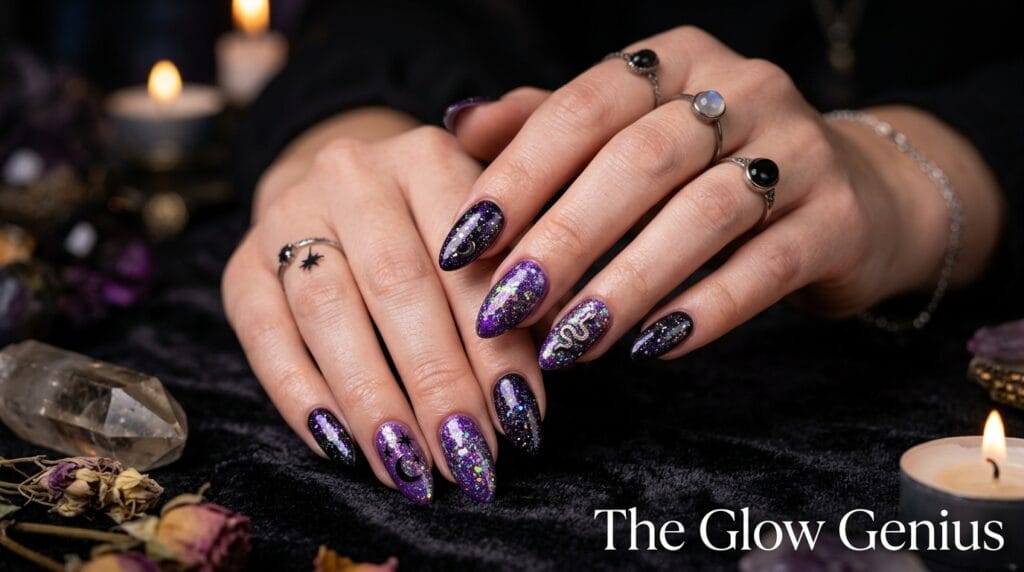
3. Glittery Witch Nails
Difficulty: Beginner
Apply a deep purple or black base, then add the Ring Light Ready HD Glitter Polish over the top for a sparkling, witchy finish that catches light beautifully in photos.
This is one of the most photo-friendly Halloween nail ideas on the list, since the glitter finish reflects light dramatically under flash or ring light photography.
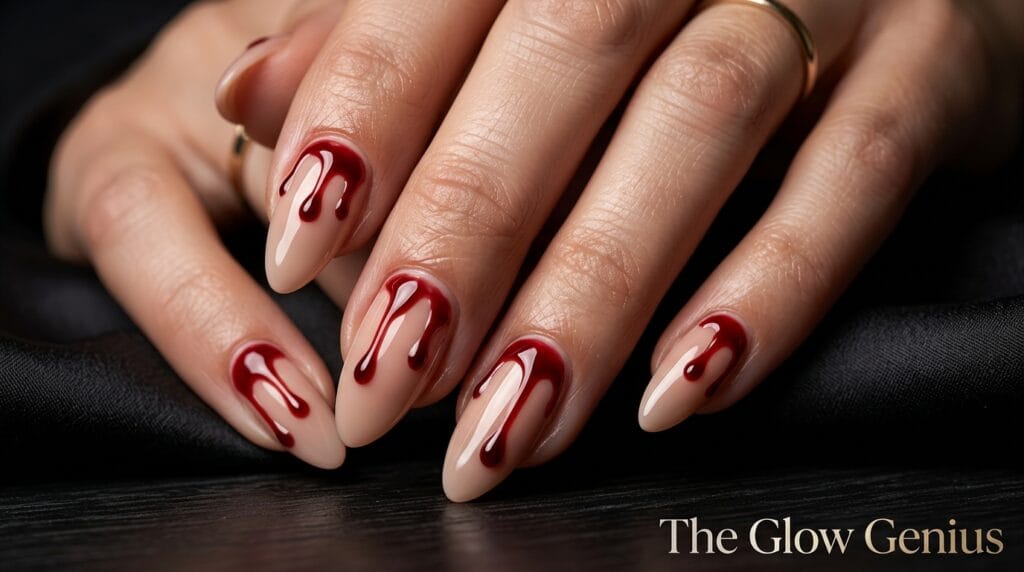
4. Blood Drip Nails
Difficulty: Intermediate
Start with a nude or pale pink base, then use a fine brush and deep red polish to paint thin, dripping lines from the top of the nail downward, mimicking a blood-drip effect.
Seal with a glossy top coat to give the red drips a wet, glossy look that reads as more dramatic than a matte finish would.
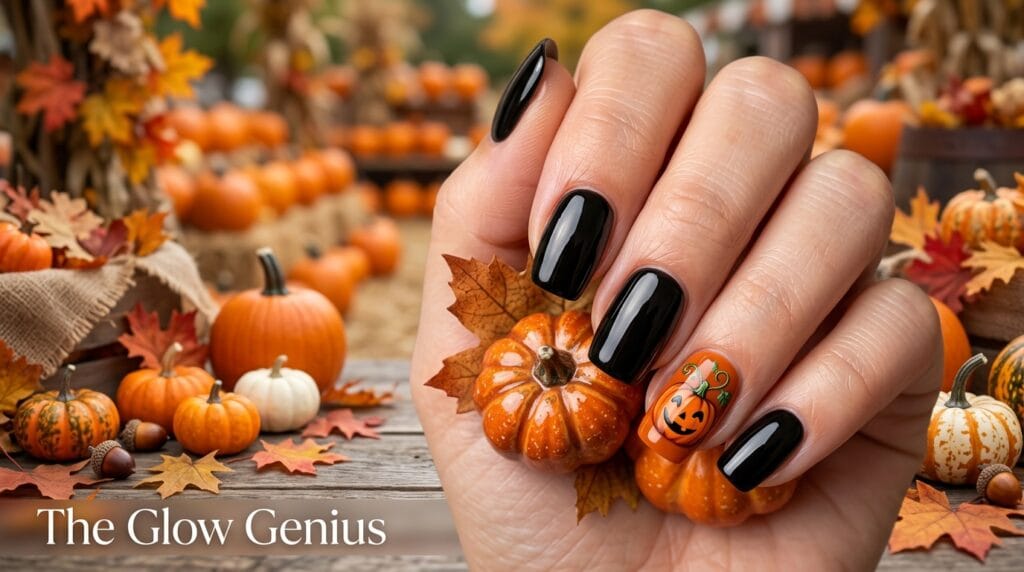
5. Pumpkin Patch Accent Nail
Difficulty: Intermediate
Keep most nails a simple black or deep orange gel effect base, then paint a small, detailed pumpkin design on one accent nail using orange and green polish. Finish all nails with a glossy top coat.
This approach keeps the overall look wearable day-to-day while still giving one nail a clearly festive, seasonal detail.
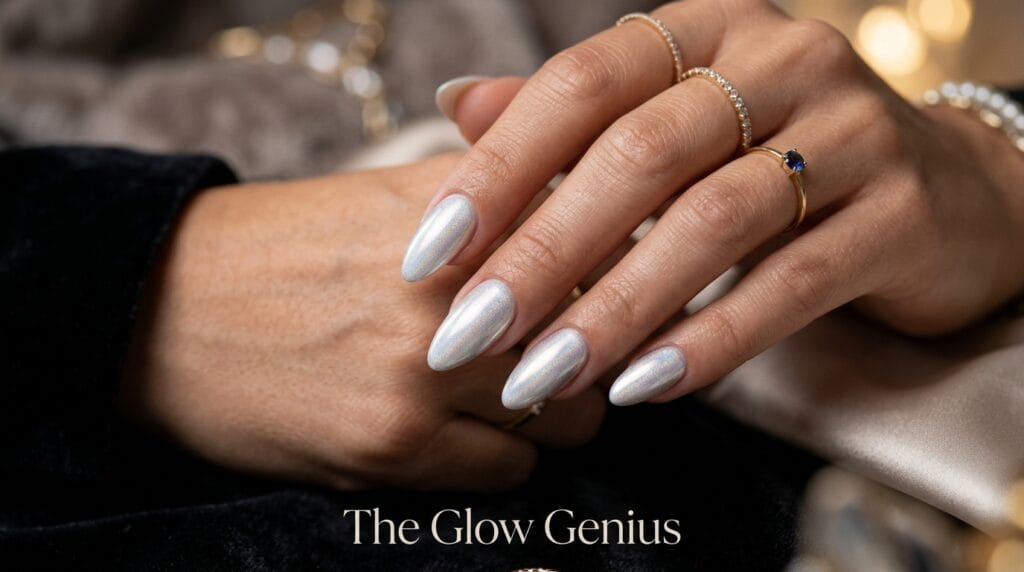
6. Ghostly Chrome Nails
Difficulty: Intermediate
Apply a pale, icy white or silver gel effect base, then layer the Ring Light Ready HD Glitter Polish sparingly for a shimmering, ethereal, almost translucent finish.
This design leans elegant rather than spooky, making it a good option for anyone who wants a Halloween-adjacent look that still feels sophisticated.
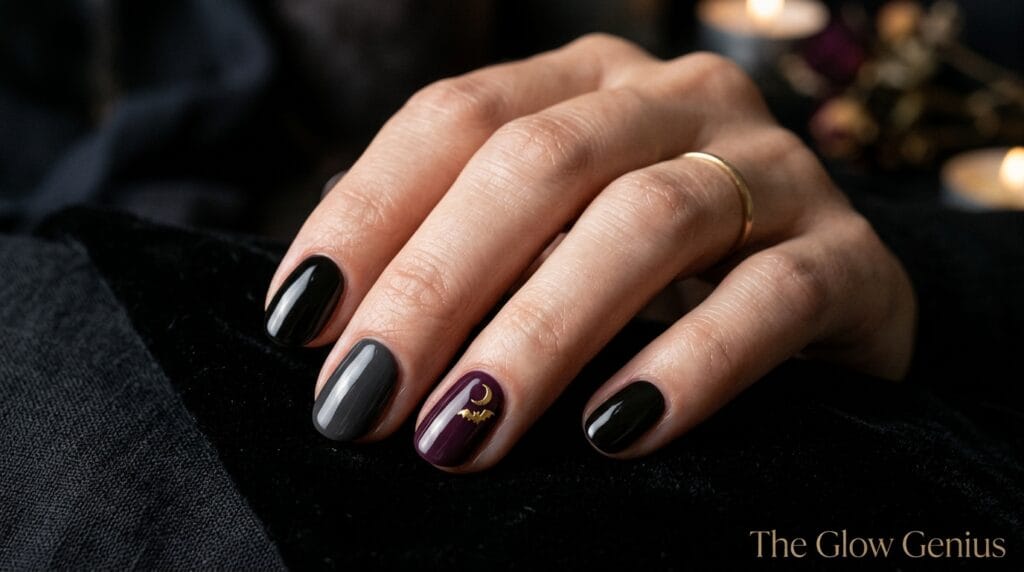
7. Minimalist Moody Manicure
Difficulty: Beginner
Choose a muted, deep shade from a set like the Gel With It 6-Piece Gel Effect Nail Polish Set, then add a single small detail, like a tiny bat or moon sticker, to just one or two nails.
This is the most versatile look on the list, since the deep, moody base shades in the set work for Halloween and transition easily into the rest of autumn.
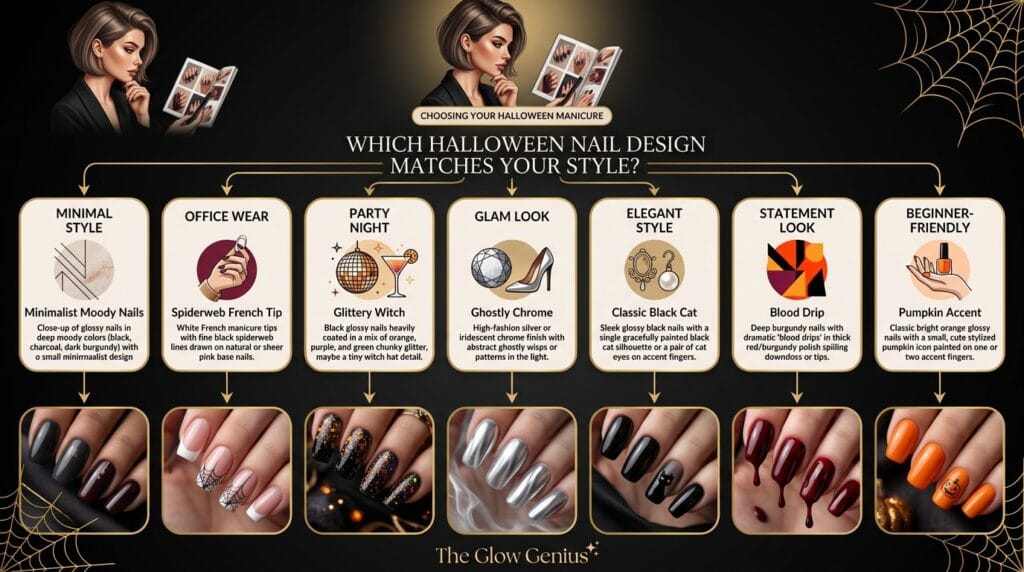
Which Halloween Nail Design Suits Your Style
Matching the design to your everyday style keeps the look wearable beyond just one night.
- Minimal, low-maintenance style: Classic black cat nails or the minimalist moody manicure both deliver Halloween mood without much extra effort.
- Office-appropriate but festive: The spooky spiderweb French tip and pumpkin patch accent nail both keep most of the hand neutral, with detail concentrated in a small area.
- Bold, photo-ready style: Glittery witch nails and ghostly chrome nails both catch light beautifully, making them ideal for parties and photos.
- Dramatic, statement style: Blood drip nails deliver the most striking, conversation-starting effect of the seven designs.
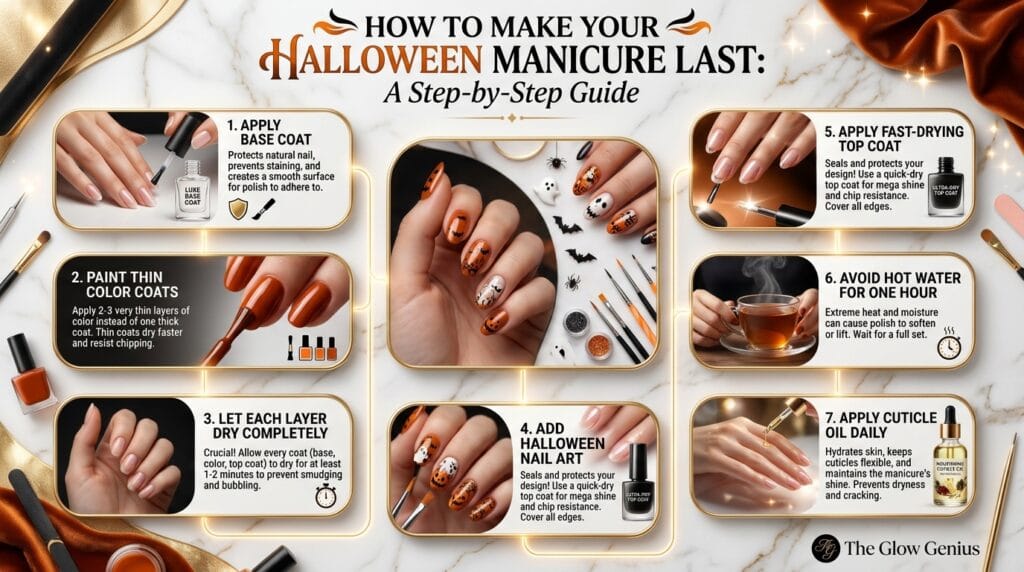
How to Make Your Halloween Manicure Last
Follow this routine to help any Halloween nail design hold up through the season.
- Start with a nourishing base coat, like NailPure Base Coat, to protect nails from staining and support overall nail health.
- Apply your chosen gel effect polish in thin, even coats, letting each layer dry fully before the next.
- Add detail work, like spiderwebs or drip effects, only once the base color is completely dry.
- Seal everything with a fast-drying top coat, such as the 45 Second Quick Drying Top Coat, for extra shine and chip resistance.
- Avoid hot water or heavy hand use for the first hour after painting to let the polish fully harden.
- Touch up the top coat every few days to maintain shine and extend wear time.
- Use cuticle oil regularly through the week to keep the skin around your nails hydrated and healthy.
This routine protects both the Halloween nail design itself and the health of your natural nails underneath.
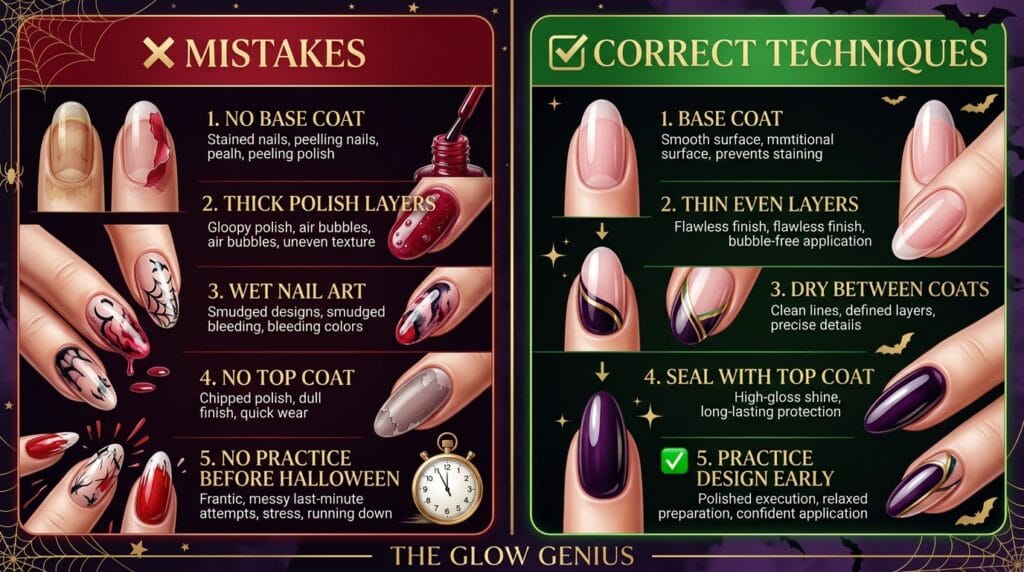
Common Halloween Nail Mistakes to Avoid
Honesty matters here, so let’s cover the mistakes that shorten a Halloween manicure’s lifespan.
- Skipping the base coat is one of the most common mistakes, especially with dark shades, since black and deep purple polish can stain natural nails without a protective barrier underneath.
- Rushing detail work before the base dries often smudges an otherwise clean design, particularly with intricate looks like spiderwebs or blood drips.
- Applying glitter without a top coat leaves the texture rough and more prone to catching on fabric or hair, which shortens how long the design actually lasts.
- Choosing an overly intricate design with no practice run the week before Halloween can lead to frustration on the actual day. A quick practice attempt in advance saves real stress later.
Halloween Nail Designs at a Glance
Design | Difficulty | Best For | Key Product |
|---|---|---|---|
Classic Black Cat Nails | Beginner | Everyday wear | Black Taxi Gel Effect Polish |
Spooky Spiderweb French Tip | Beginner-Intermediate | Office-appropriate | Fine liner brush, black polish |
Glittery Witch Nails | Beginner | Parties, photos | Ring Light Ready HD Glitter |
Blood Drip Nails | Intermediate | Statement looks | Red polish, glossy top coat |
Pumpkin Patch Accent Nail | Intermediate | Seasonal, wearable | Orange, green polish |
Ghostly Chrome Nails | Intermediate | Elegant, photo-ready | Ring Light Ready HD Glitter |
Minimalist Moody Manicure | Beginner | Versatile, low-maintenance | Gel With It 6-Piece Set |
You May Also Like
If you loved this guide, these articles were made for you:
- 15 Minimalist Simple Nail Designs
- 25 Short Nail Designs
- Nail Polish and Nail Art Ideas
- Acrylic Nail Tips & Tricks
- Dermatologist-Approved Nail Growth Tips at Home
- Best Starter Nail Kits for Beginners
- 5 DIY Nail Hacks
- 10 Beginner-Friendly Eyeliner Hacks
FAQs
The Honest Verdict on Halloween Nails
Halloween nail designs genuinely do not require an elaborate kit or advanced nail art skills. A reliable gel effect polish, a good base coat, and one standout detail are usually enough to carry the whole festive mood.
Match your design to how much time and detail work you actually want to commit to this year. A clean, simple black manicure will always outperform a rushed, overly ambitious design.
Prep your nails properly, seal everything with a strong top coat, and keep cuticle oil in your routine through the season. Save this guide, share it with your Halloween party group chat, and come back whenever you need fresh nail inspiration.